Sterilization in Salons: Complete Safety Guide
Introduction
A new client walks into a salon, scans the room, and decides in about three seconds whether the space feels safe. Fresh capes, gleaming shears, spotless chairs, and a tidy station speak loudly. Sticky armrests or “mystery stains” do the same, just in the wrong direction. Clean is not a bonus; it is the baseline.
What clients cannot see matters even more. Shiny tools may still carry bacteria, viruses, fungi, and spores unless true sterilization happens. Wiping shears with alcohol or dropping combs into blue liquid is disinfection, not sterilization. Sterilization is the top level of decontamination and is the only process that destroys every form of microbial life, including the hardiest spores.
Modern salons and barbershops work to standards close to medical offices, with sterilization practices increasingly common across the United States. The target is a Sterility Assurance Level (SAL) of 10⁻⁶, meaning only a one‑in‑a‑million chance that a single microbe survives a cycle. That level of safety protects clients, keeps staff healthy, satisfies regulators, and reduces legal risk.
This guide explains how sterilization works, how to classify tools, which methods to use, what a reliable step‑by‑step process looks like, how to check that it works, and which mistakes to avoid. You will also see how SalonAct furniture and sanitation products support a spotless space clients notice as soon as they walk in.
Key Takeaways
-
Sterilization is the only process that removes all microorganisms, including spores. It is mandatory for critical items that pierce the skin or touch non‑intact skin and goes far beyond cleaning or disinfection. Done correctly, it keeps cross‑infection risk near the low levels expected in medical settings.
-
Thorough cleaning before sterilization is non‑negotiable. Hair, skin, oils, and product residue (bioburden) form a shield that blocks steam or chemicals. If that layer stays on the metal, the printout may look perfect while dangerous microbes survive.
-
Autoclaves that use pressurized steam are the first choice for heat‑stable tools. They work quickly, cost less to run than many low‑temperature systems, and give predictable results when loaded, monitored, and maintained well. For stainless shears, razors, and clipper blades, steam sterilization should be the default.
-
Classifying tools as critical, semi‑critical, or non‑critical helps match the right decontamination level to each item. That keeps clients safe without wasting time or budget on over‑processing items that only touch intact skin.
-
Regular monitoring with mechanical readings, chemical indicators, and biological (spore) tests shows that sterilization is working, not just assumed. SalonAct supports these goals with durable, non‑porous furniture and professional sanitation supplies so the visible and invisible sides of cleanliness stay aligned.
What Is Sterilization and Why It Matters in Your Salon
Sterilization is the process that completely destroys all forms of microbial life on a surface: bacteria, viruses, fungi, and the tough bacterial spores that survive most disinfectants. When a tool is sterile, no living microorganisms remain. This sits above cleaning, sanitizing, and disinfecting, which only reduce microbe counts.
The CDC defines sterilization as “a process that destroys or eliminates all forms of microbial life.”
— Centers for Disease Control and Prevention (CDC)
Cleaning removes visible debris such as hair, product, and skin cells. Sanitizing lowers microbe counts to levels considered safe for general use. Disinfection kills most pathogens but not spores. Sterilization aims for zero viable organisms, measured by SAL. A SAL of 10⁻⁶ means only a one‑in‑a‑million chance that a single organism remains.
Why does that matter behind the chair? Any tool that contacts blood, broken skin, or body fluids can pass along blood‑borne pathogens such as hepatitis B, hepatitis C, or HIV if it is not sterile. Even minor infections around the hairline, ears, or beard can damage a salon’s reputation with a single angry post.
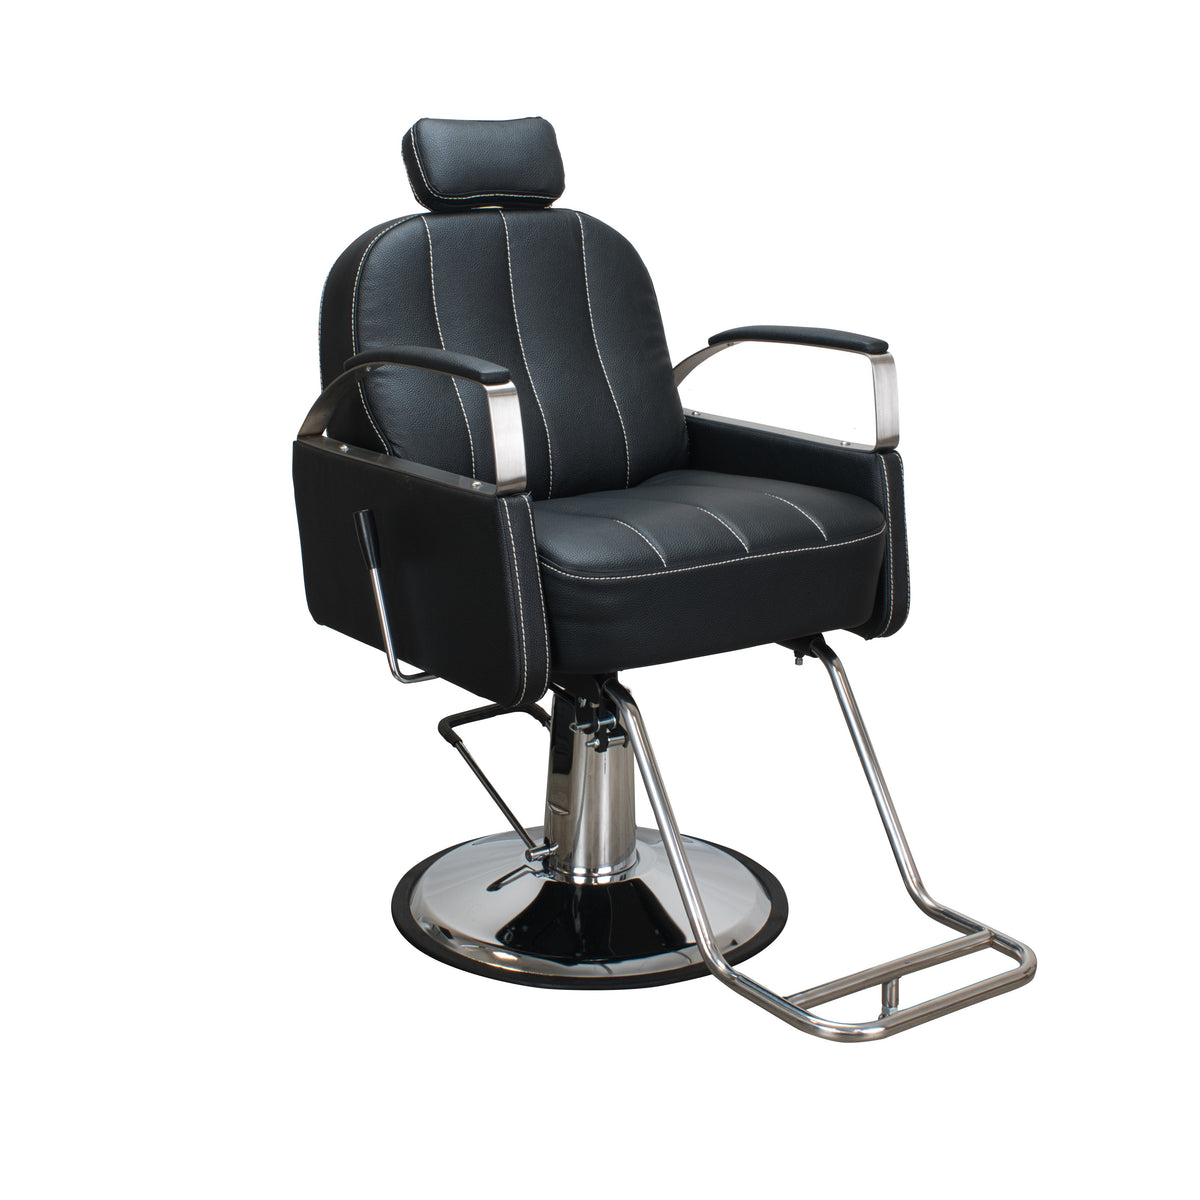
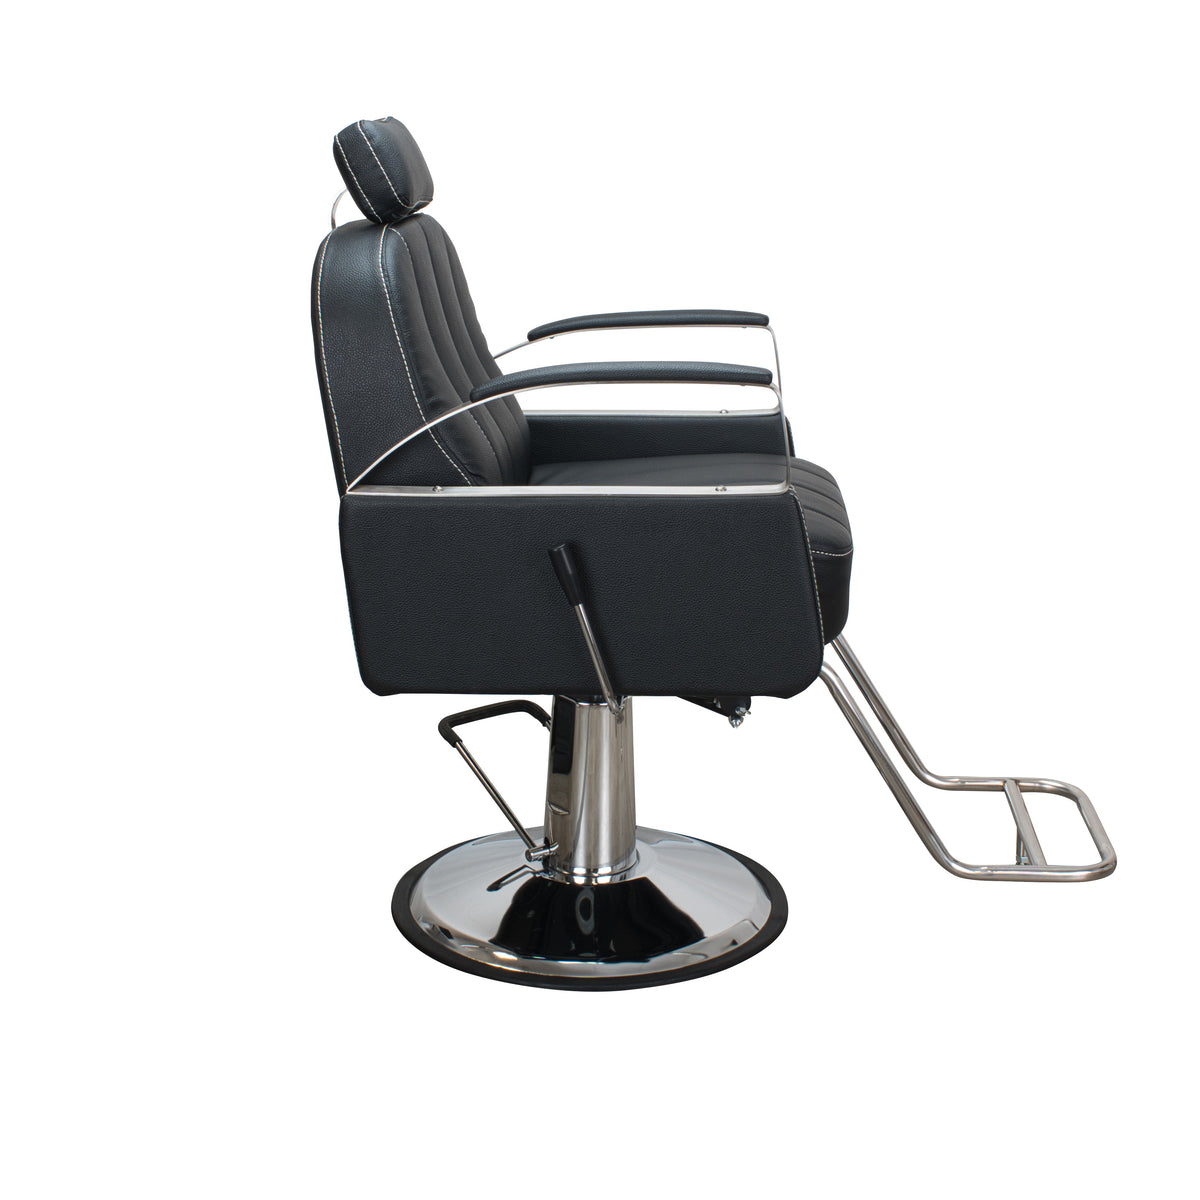
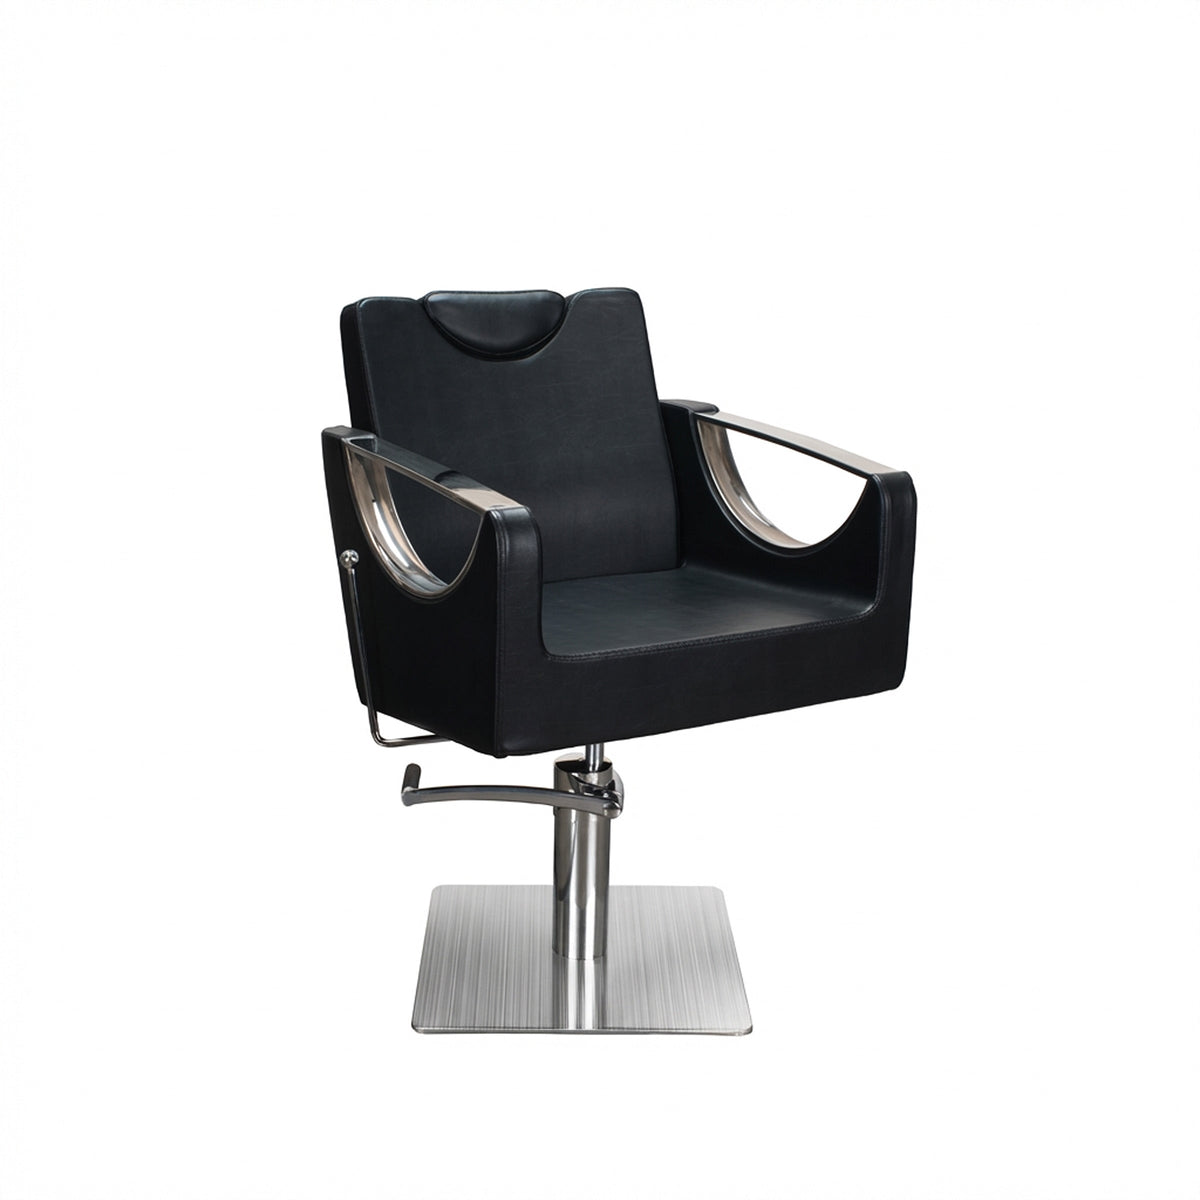
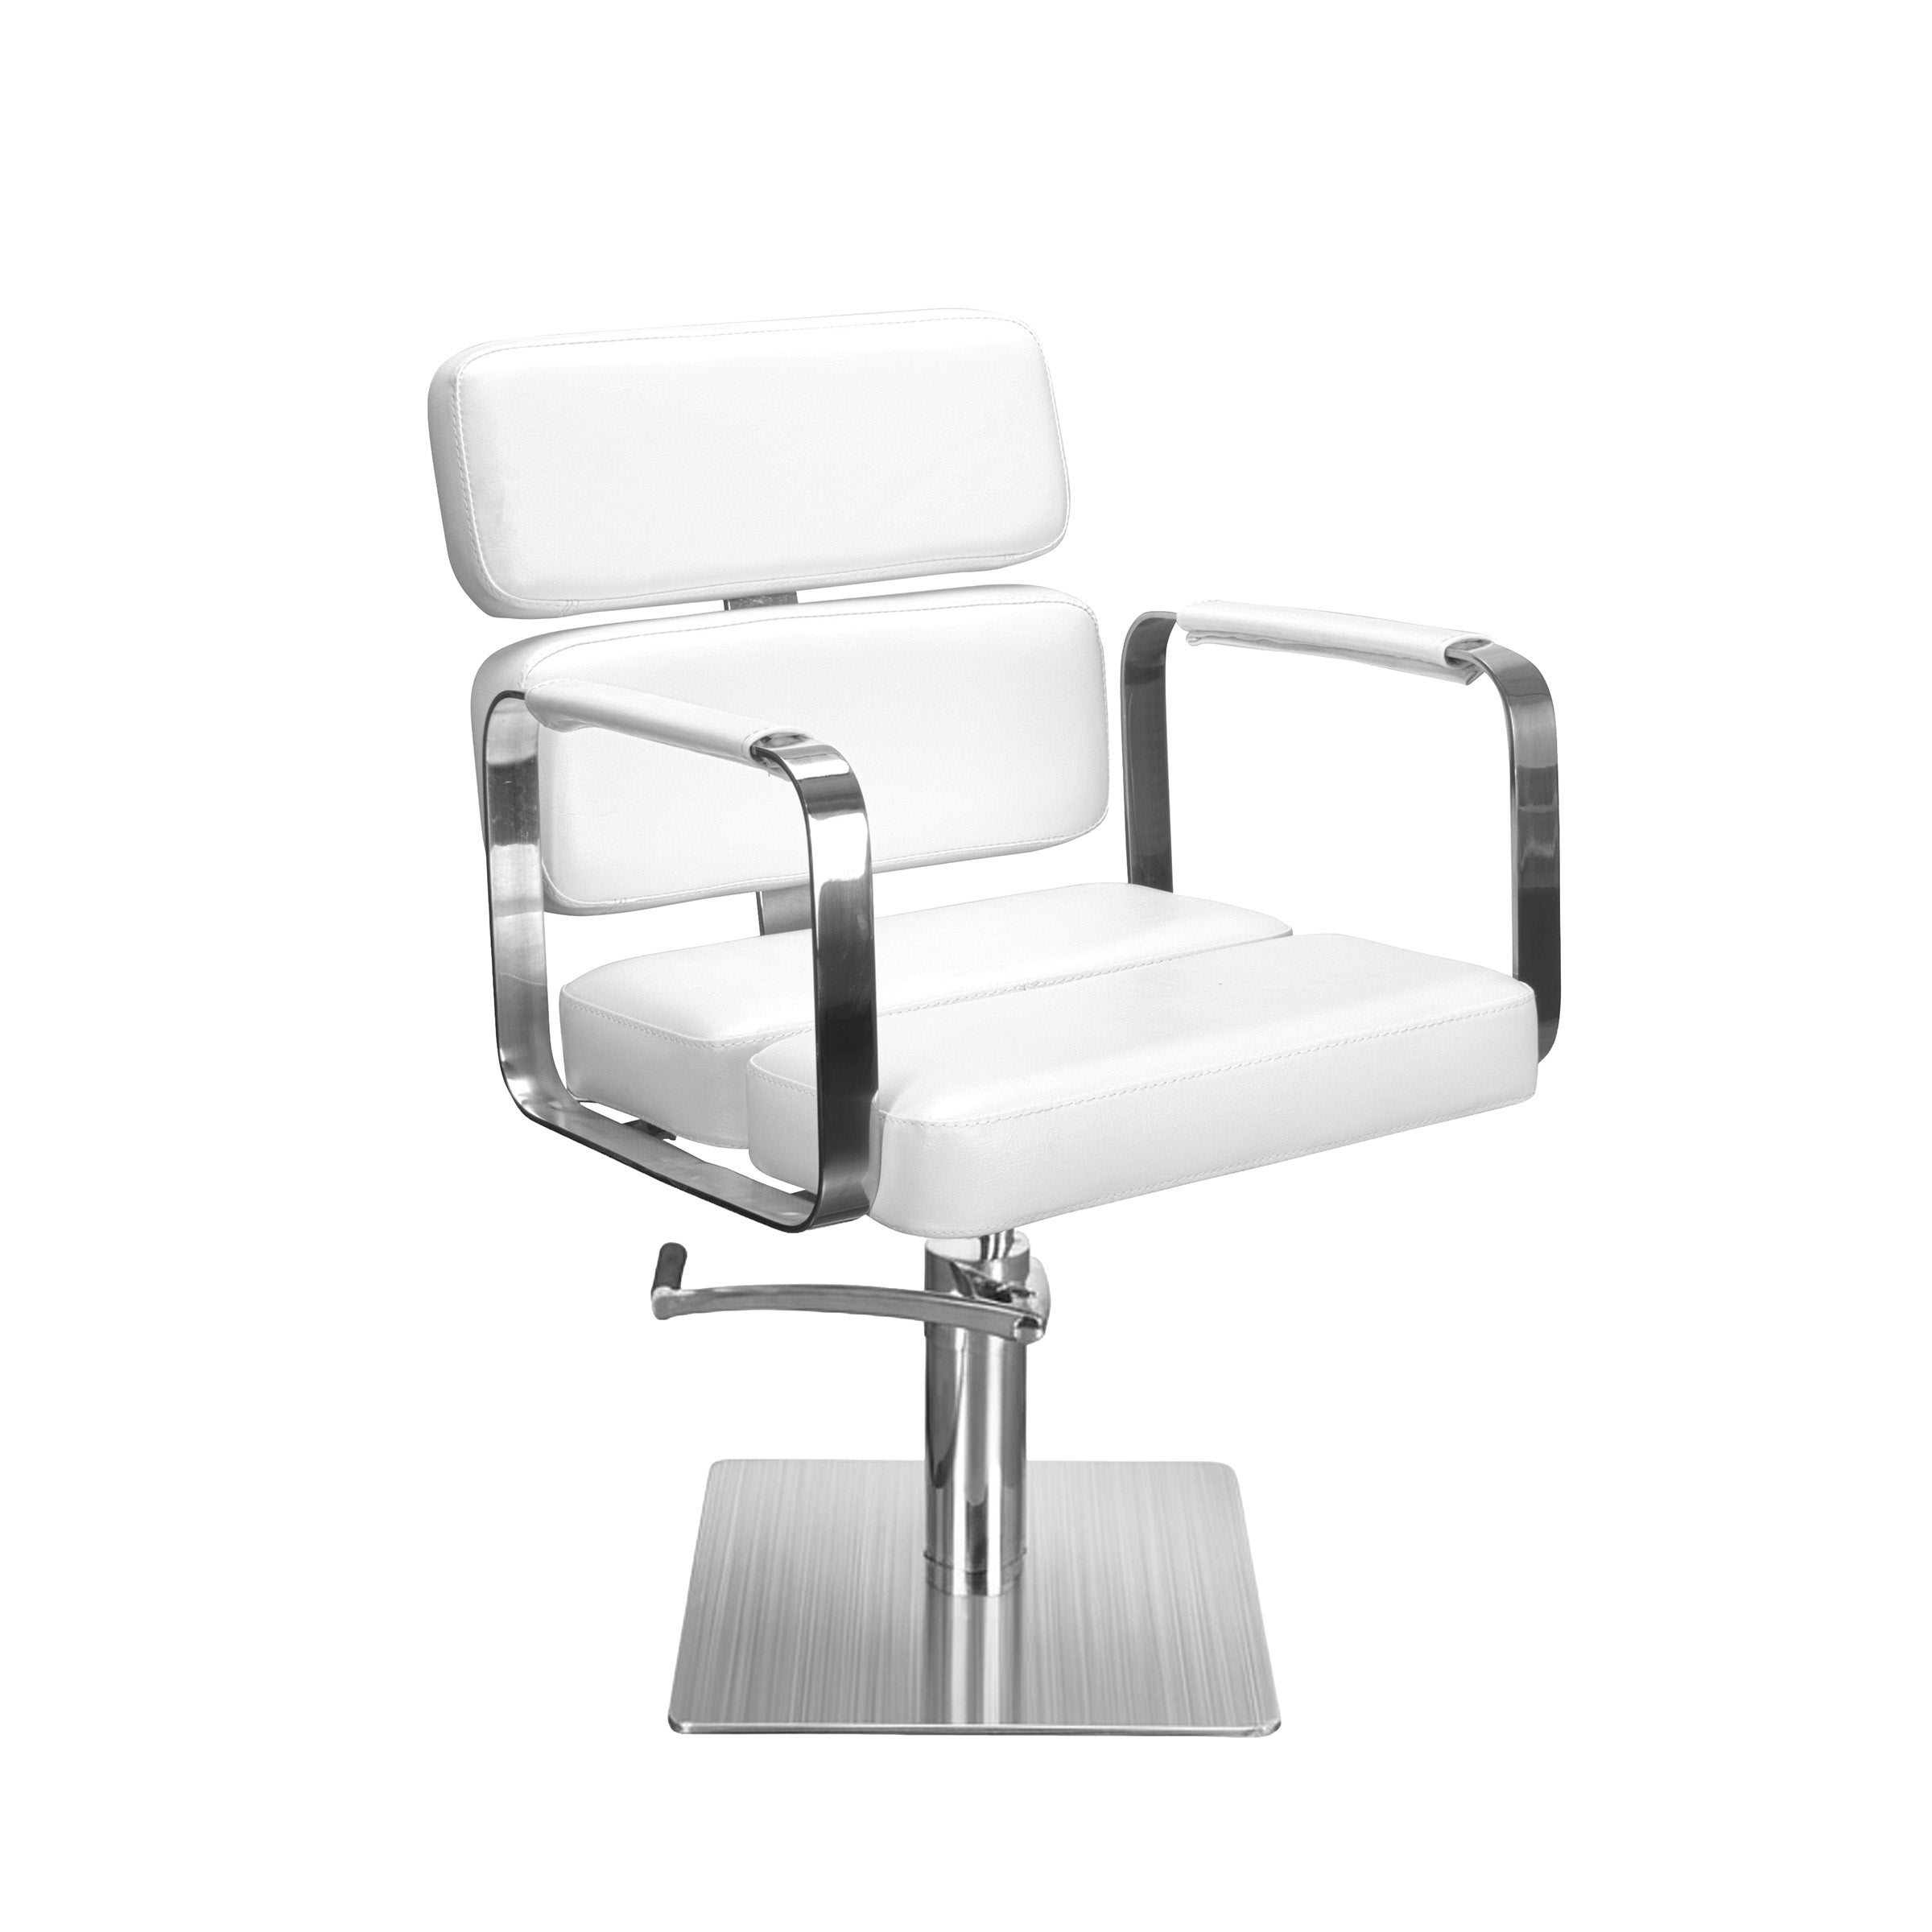
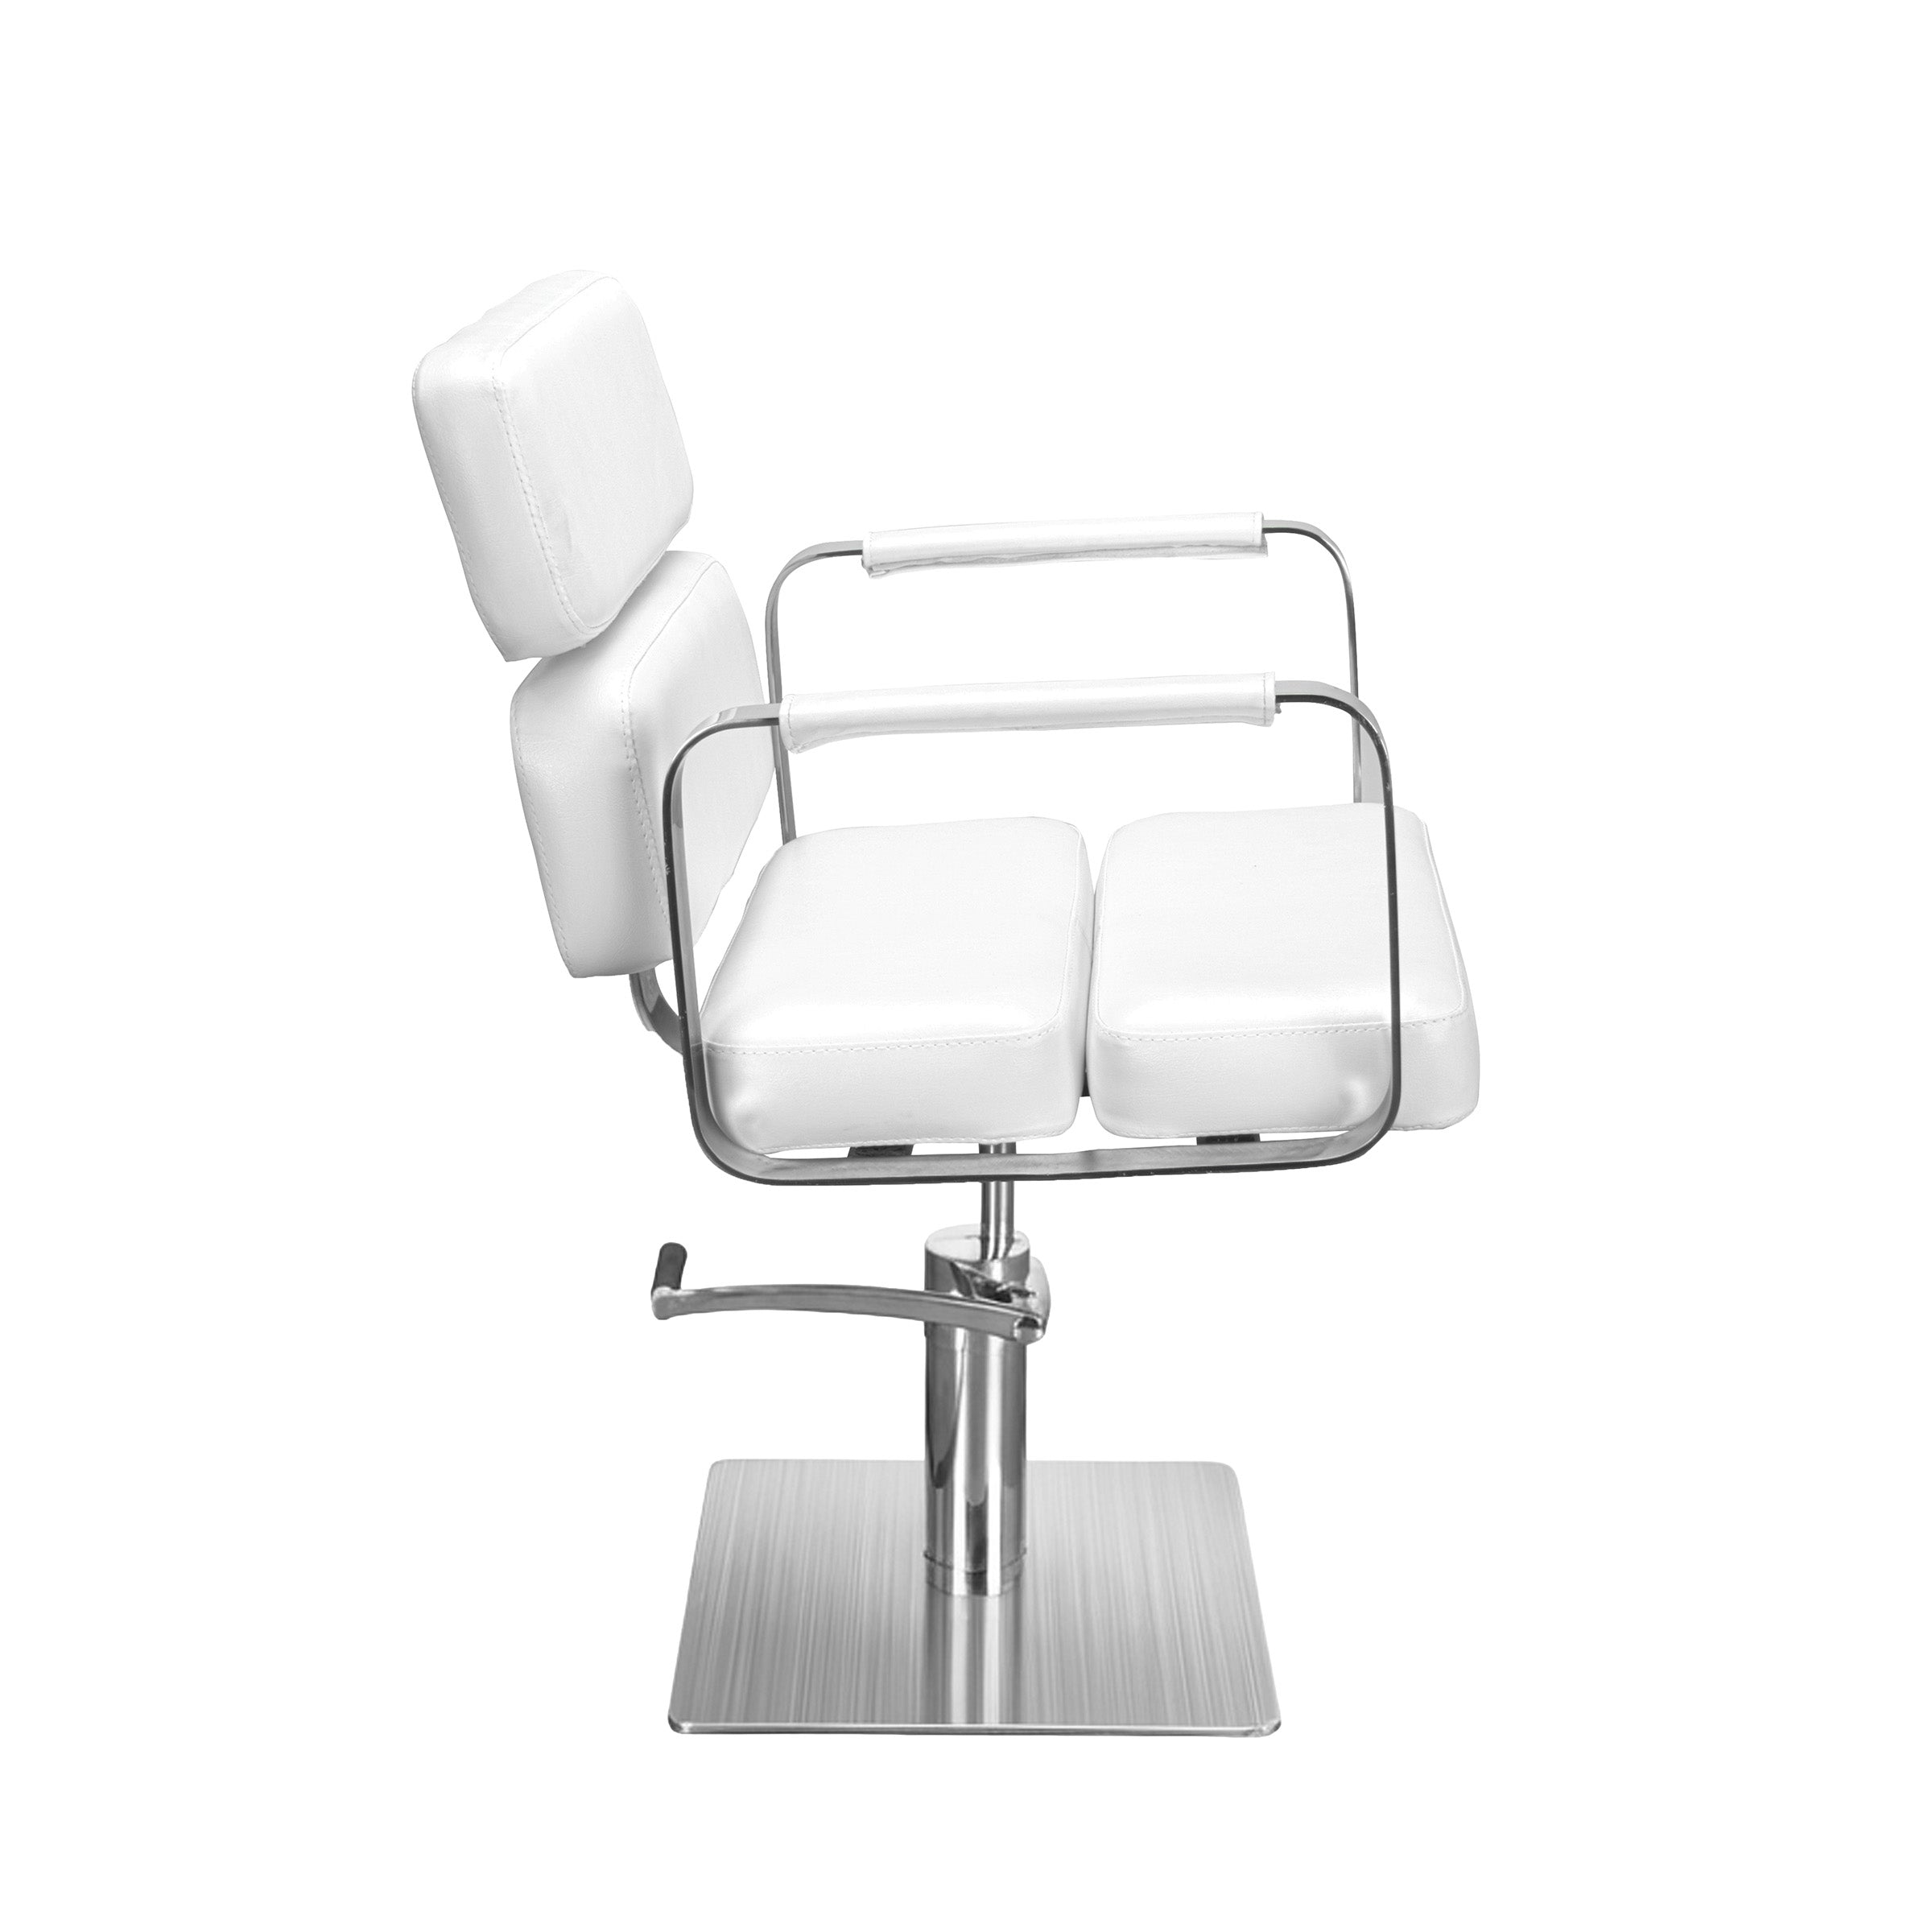
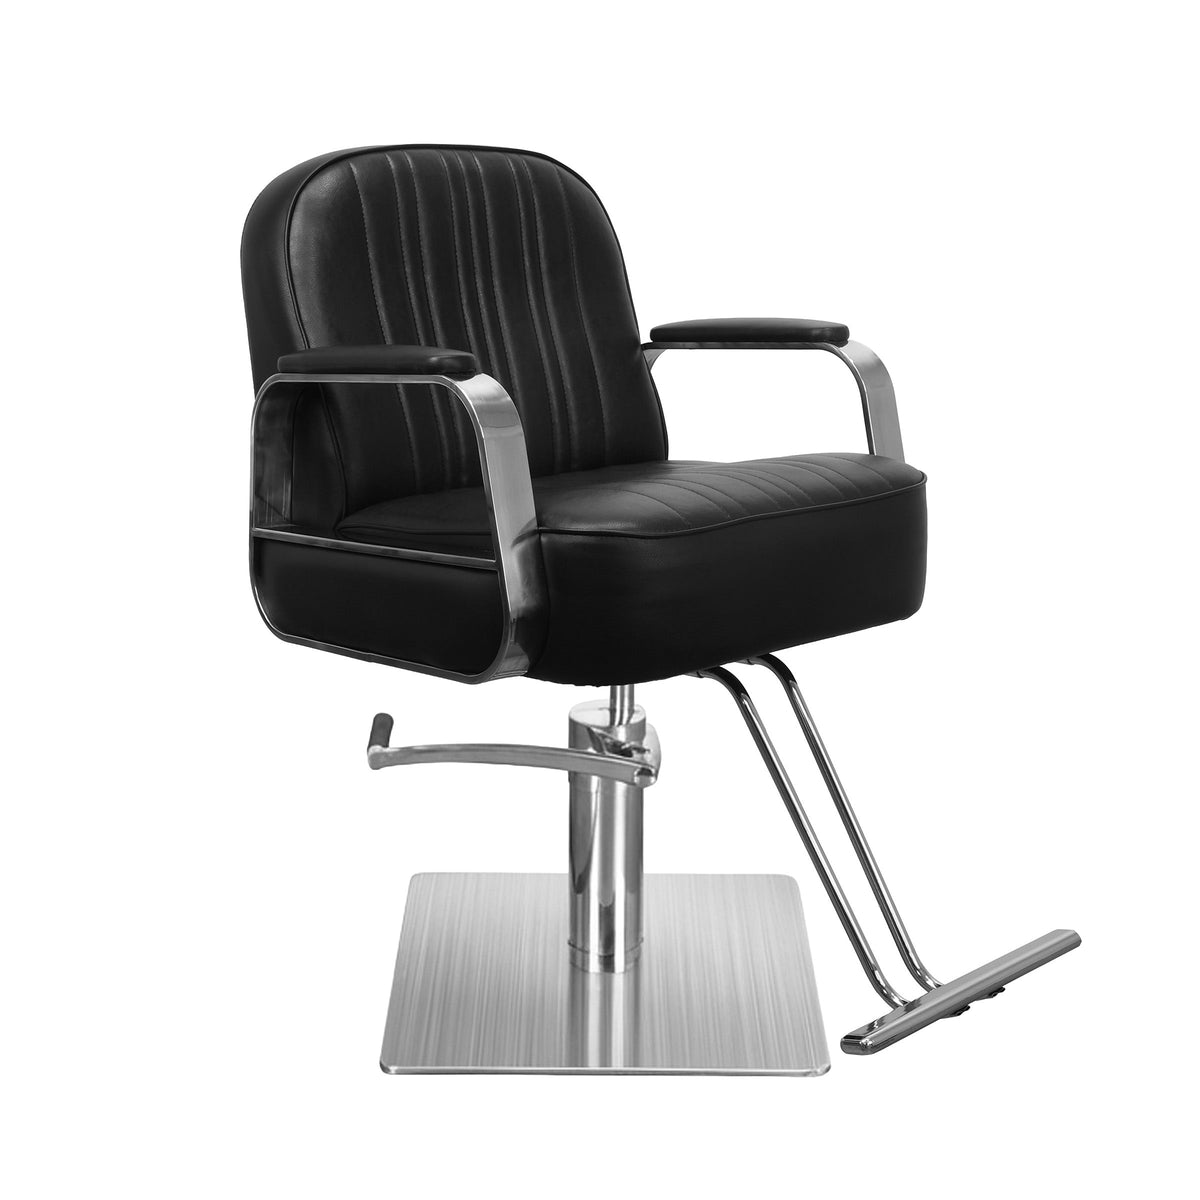
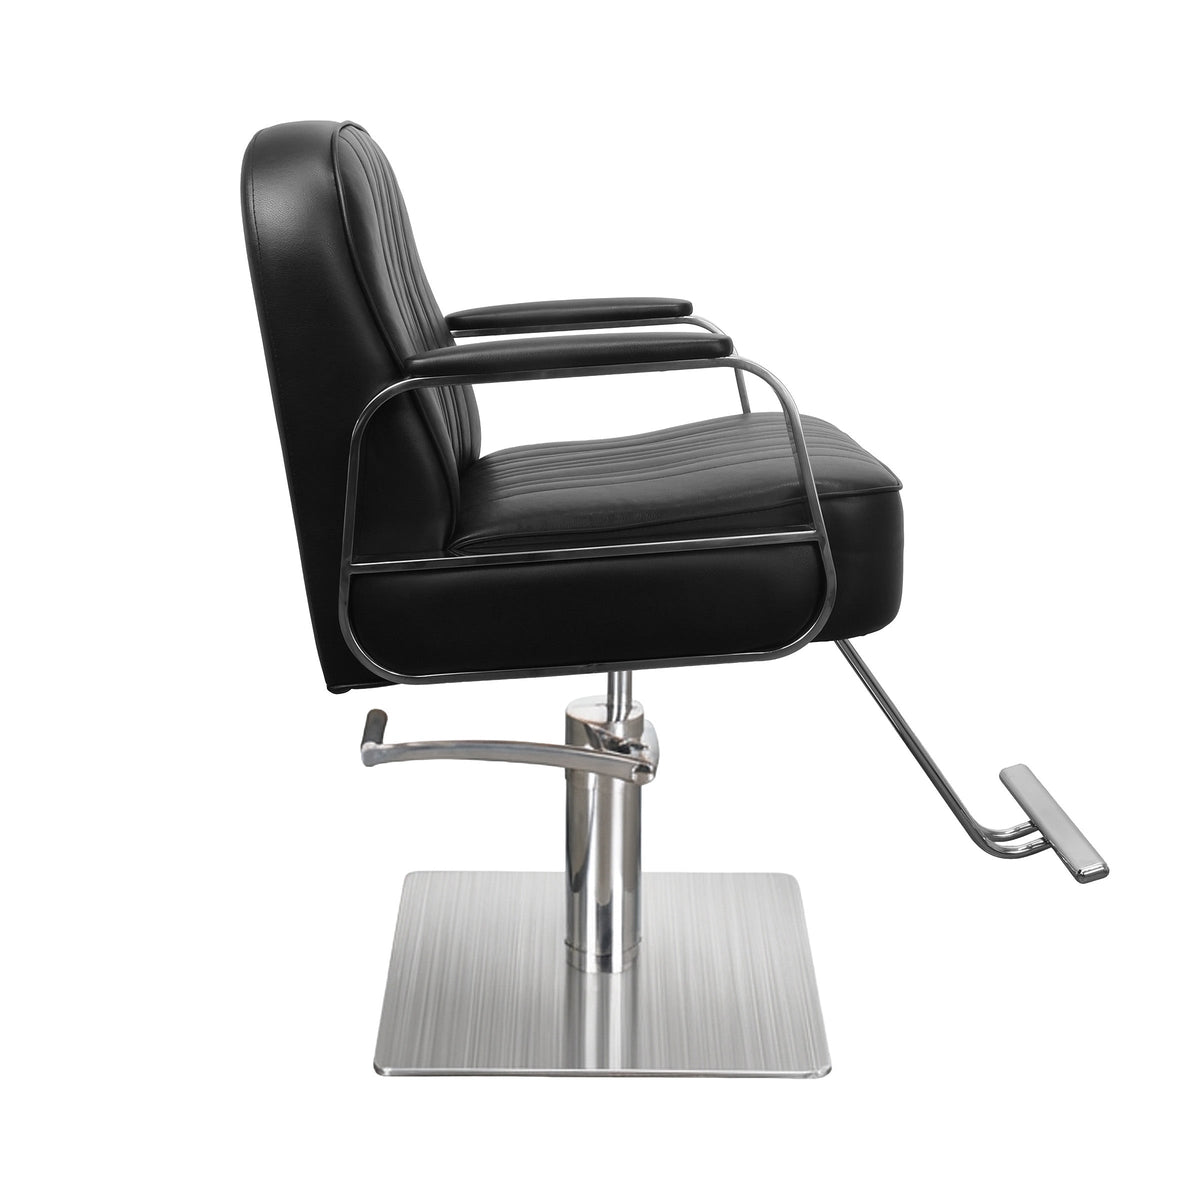
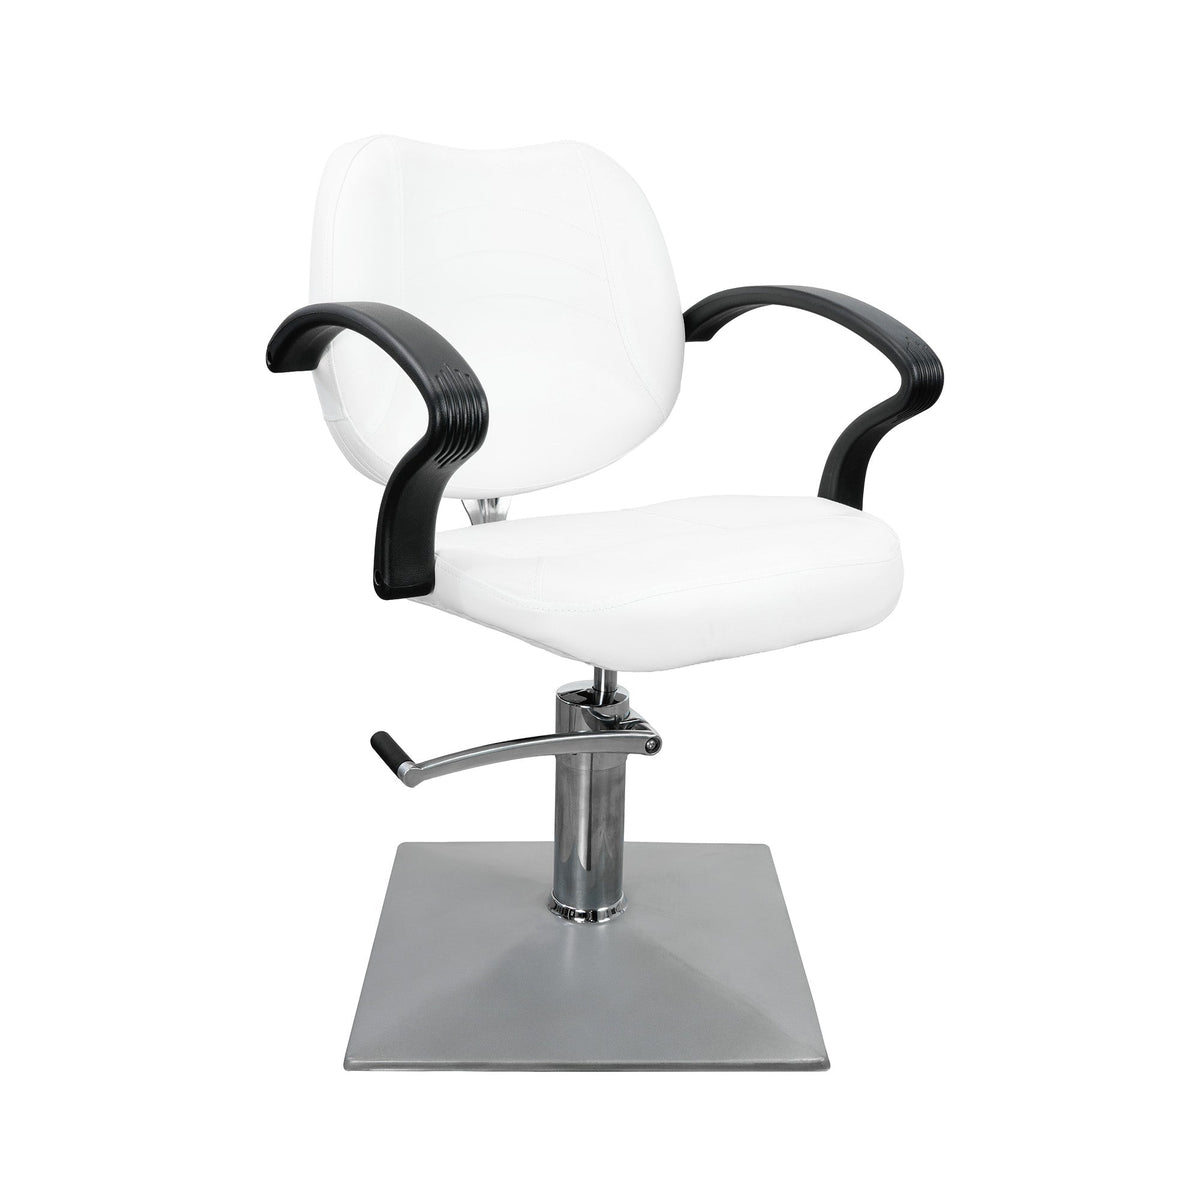
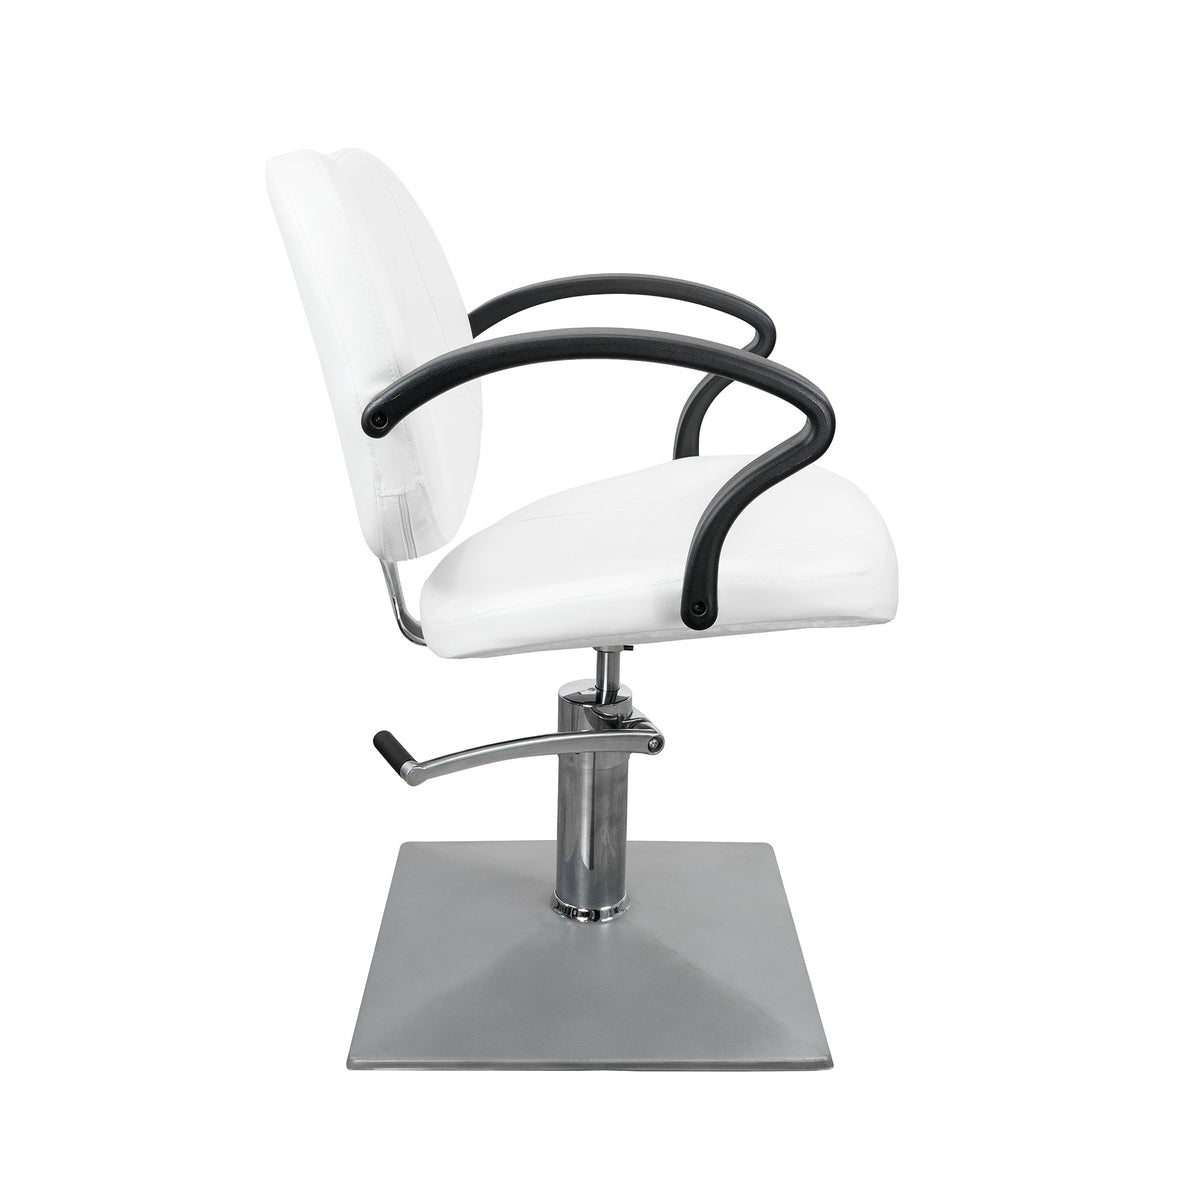
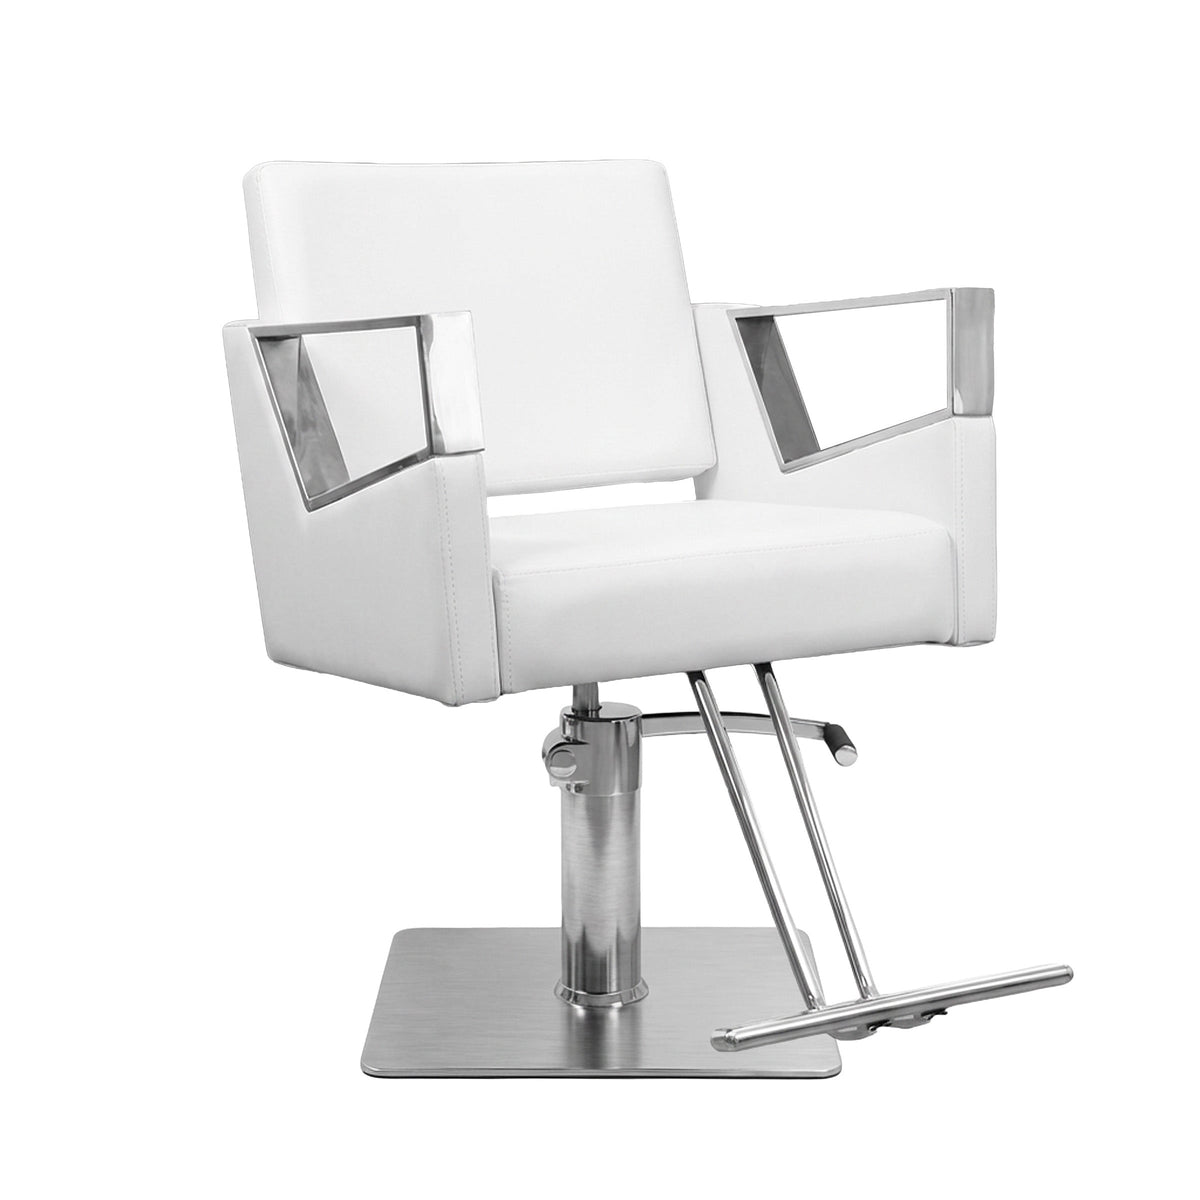
On the positive side, visible cleanliness plus solid sterilization practices build real trust. Clients relax when they see sealed pouches, organized stations, and fresh towels. Inspectors see someone who respects regulations, not a gambler. SalonAct backs that image with commercial‑grade, non‑porous, chemical‑resistant vinyl and faux leather so chairs and stations stay bright and easy to wipe, shift after shift.
How to Classify Your Salon Tools: Critical, Semi-Critical, and Non-Critical
Not every item in a salon needs the same level of decontamination. A simple comb does not carry the same risk as a lancet. The Spaulding Classification system divides tools into three groups based on how they contact the body, giving staff clear rules for each type of implement.
When tools are organized by these three categories, training becomes simpler and day‑to‑day compliance improves. Instead of guessing, staff can glance at an item and know whether it needs sterilization, high‑level disinfection, or thorough cleaning plus low‑level disinfection.
Critical Items
Critical items are tools that penetrate the skin or touch body sites that are normally sterile. In a salon or barbershop, that includes lancets for extractions, microneedling devices, certain specialty blades, and any instrument that might intentionally or accidentally break the skin.
These tools have a direct path into tissue or the bloodstream, so any microbe on them can cause serious infection. Reusable critical items must go through true sterilization after every use. Many, such as lancets, should only be used as pre‑sterilized disposables and never reused.
Semi-Critical Items
Semi‑critical items touch non‑intact skin or mucous membranes without actually piercing them. Examples include tweezers used on broken skin, metal pushers, waxing tools, facial electrodes, and clipper blades that often nick the scalp.
The minimum for semi‑critical tools is high‑level disinfection, which kills almost all microorganisms except very high numbers of spores. In a busy salon, it is often safer and simpler to sterilize any heat‑tolerant semi‑critical item in an autoclave, removing guesswork and widening the safety margin.
Non-Critical Items
Non‑critical items only touch intact, healthy skin and carry a relatively low infection risk. This group includes combs, brushes, plastic clips, capes, countertops, armrests, styling chairs, shampoo bowls, and door handles.
These items do not need sterilization, but they do need regular cleaning followed by low‑ or intermediate‑level disinfection with an EPA‑registered product for salon use. Wiping chairs and bowls between clients cuts germs and sends a visible message of professionalism. SalonAct uses non‑porous, stain‑resistant upholstery so quick wipe‑downs stay easy instead of fighting cracked vinyl or soaked‑in spills.
The Non-Negotiable First Step: Pre-Cleaning Your Tools
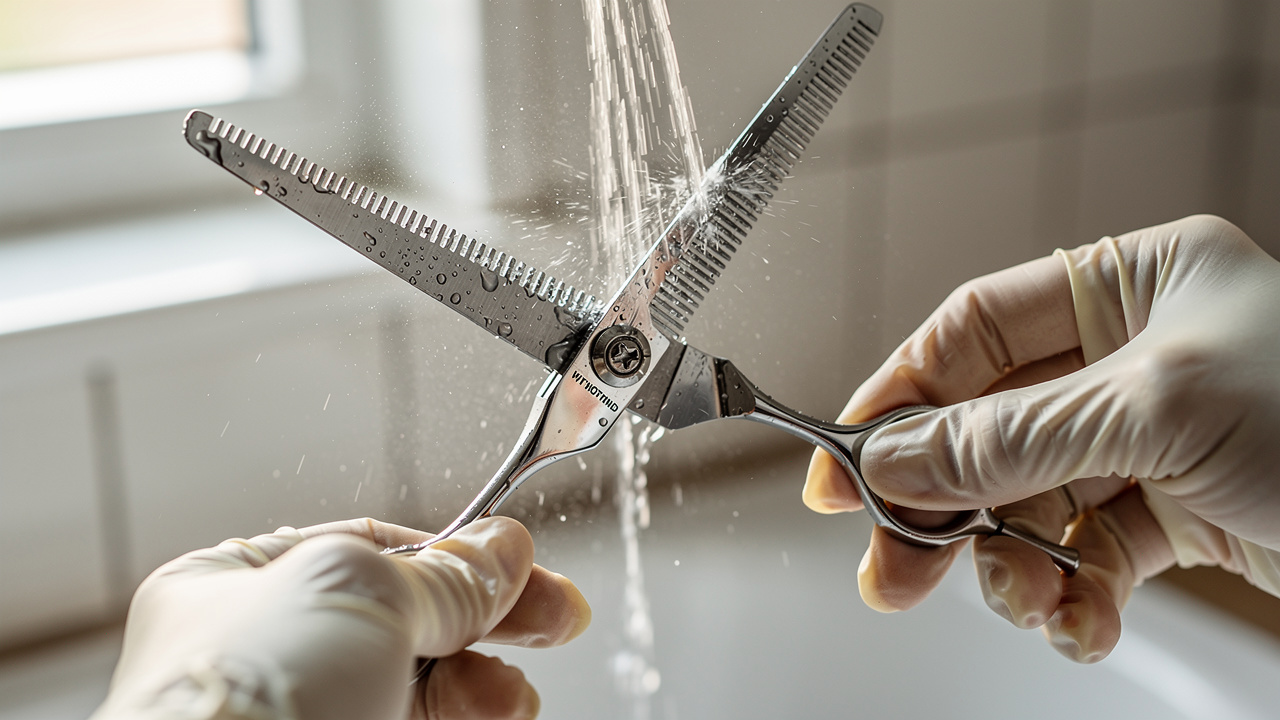
Sterilization cannot fix dirty tools. If hair, skin, or product residue stays on an instrument, microbes hide inside that layer and escape steam or chemicals. This built‑up debris, called bioburden, includes both organic matter and the microorganisms living in it.
The science is simple: for sterilization to work, the sterilant must touch every surface. Bioburden acts like a tiny raincoat for bacteria and spores, blocking contact. The autoclave printout may show perfect time and temperature, yet the tool still comes out contaminated. This is a leading cause of failure in real salons.
Because of that, cleaning is the foundation, not an optional “extra.” When staff rush pre‑cleaning or skip it on a busy Saturday, the entire sterilization chain fails, even if the autoclave itself is working well.
Step-by-Step Pre-Cleaning Protocol
Start pre‑cleaning as soon as possible after a tool leaves a client’s skin. Fresh residue lifts off far more easily than dried buildup, and it reduces the chance someone handles a contaminated item by accident.
Use this simple protocol:
- Immediate rinse: Place used tools in a designated tray or container and, as soon as you can, rinse under warm water to keep hair and product from drying on the surface.
- Scrub or ultrasonic clean: With instrument‑grade detergent and a stiff‑bristled brush, scrub all sides of the tool, paying special attention to hinges, serrated edges, and screw joints. High‑volume salons can add an ultrasonic cleaner, whose sound waves knock loose debris that brushes miss.
- Rinse thoroughly: Rinse each tool under clean running water to remove detergent and loosened soil. Leftover soap film can interfere with sterilization and speed corrosion.
- Dry completely: Dry tools with a lint‑free cloth or on a clean tray in a protected area. Moisture can cause rust and can disrupt certain sterilization cycles.
- Organize for processing: Place clean, dry instruments in a covered container ready for packaging. SalonAct offers sterilization jars and professional cleaners that fit neatly into this workflow, keeping the process organized instead of chaotic.
Steam Sterilization: The Gold Standard for Heat-Stable Tools
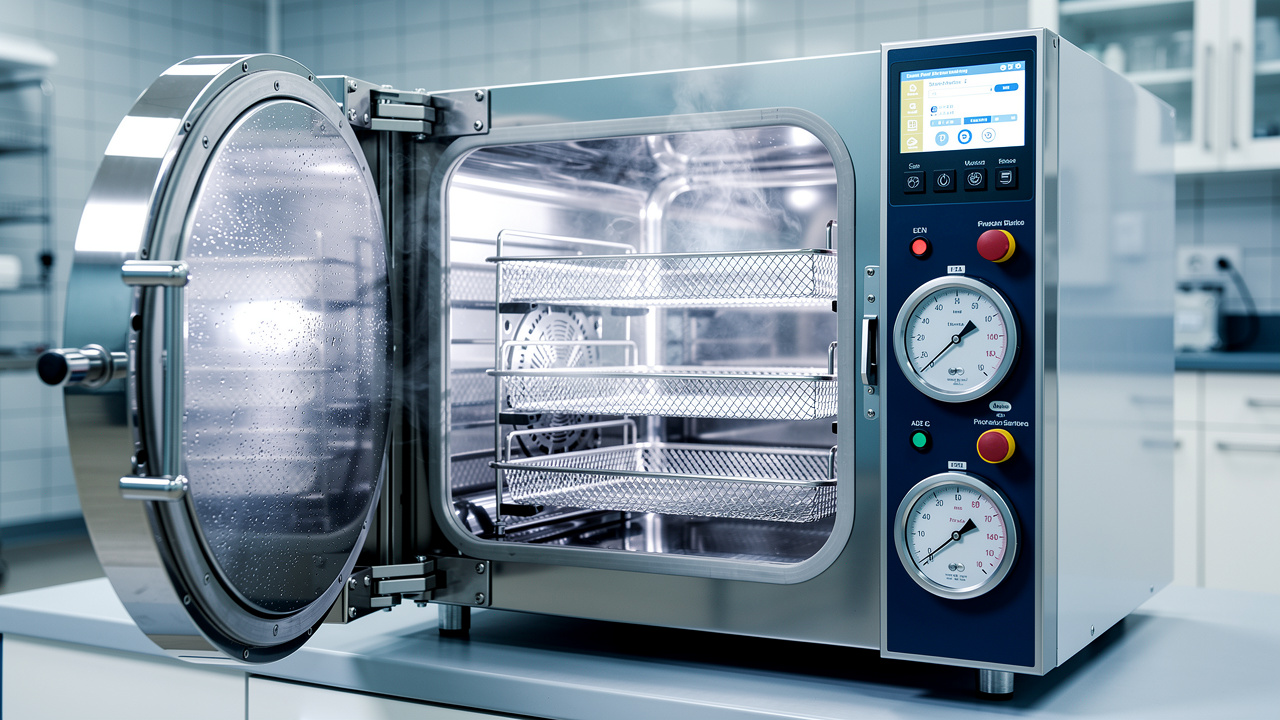
For most salon and barbershop instruments made of stainless steel or other heat‑stable materials, steam sterilization is the go‑to method. An autoclave heats water to produce pressurized steam, reaching 250–273°F (121–134°C). At these settings, microbes, including resistant spores, cannot survive.
Steam works because it combines high heat, moisture, and pressure. This trio denatures the proteins that keep microorganisms alive. Autoclaves offer repeatable, programmable cycles, so each batch of tools receives the same treatment. Compared with many low‑temperature systems, steam cycles are faster, often 15–30 minutes plus drying.
From a business standpoint, steam sterilization supports both safety and budgets. The process leaves no toxic residue, so there is no risk of chemical fumes around clients or staff. Once purchased, autoclaves have a low per‑cycle cost, especially for busy shops. Many state boards now treat autoclaves as the standard for professional sterilization in beauty settings.
“Sterilization of critical medical and dental instruments should always be performed using a validated process such as steam under pressure.”
— Adapted from CDC Guideline for Disinfection and Sterilization in Healthcare Facilities
When to Choose Steam Sterilization
Steam sterilization is ideal for non‑porous tools that can tolerate both heat and moisture. That list includes professional shears, barber razors with detachable blades, stainless steel combs, clipper blades rated for autoclave use, tweezers, cuticle nippers, and many metal pushers or extraction tools.
Glass or certain heat‑stable plastics may also qualify if the manufacturer clearly states they are autoclave‑safe. Always check those labels. Items with electronic parts, soft plastics, or adhesives usually do not belong in an autoclave; high heat and steam can warp, melt, or ruin them.
Low-Temperature Sterilization: Options for Heat-Sensitive Tools
Some modern beauty tools cannot tolerate high heat. Items made of delicate plastics, certain polymers, or electronic components may be damaged by autoclave temperatures or moisture. For these, low‑temperature sterilization methods fill the gap, though most are more common in hospitals than salons.
The goal stays the same: reach a very high kill level for microbes and spores, just at lower temperatures. These methods rely on gases or liquid chemicals instead of hot steam. They expand the range of items that can be sterilized but add cost, training needs, and safety rules.
Ethylene Oxide (EtO) Gas Sterilization
Ethylene oxide (EtO) gas sterilization uses a low‑temperature gas that diffuses into materials and destroys microorganisms, including spores. It works well on heat‑ and moisture‑sensitive devices, especially complex ones with internal channels.
However, EtO is toxic and flammable. It requires special ventilation, long exposure times, and lengthy aeration periods that can last many hours. Because of the expense and strict safety rules, EtO systems are generally limited to large medical facilities, not salons or barbershops.
Hydrogen Peroxide Gas Plasma Sterilization
Hydrogen peroxide gas plasma systems introduce hydrogen peroxide vapor into a chamber, then energize it into a plasma state. This mix reacts with microorganisms at low temperatures and breaks them apart. The process leaves only water and oxygen behind, so there are no harmful residues.
Cycle times are shorter than EtO and there is no need for long aeration. The trade‑off is very high equipment cost and system complexity. These units remain mostly in hospitals and surgical centers; for most salons, they are far beyond what is needed.
Liquid Chemical Sterilants
Liquid chemical sterilants give salons a more realistic low‑temperature option. Certain EPA‑registered high‑level disinfectants, often based on peracetic acid or glutaraldehyde, can act as sterilants if used at the right strength and for extended times.
To reach true sterilization levels, tools must stay completely submerged for many hours, often 6–10 hours or more, depending on the label. Short soaks only provide high‑level disinfection. After the full soak, tools must be rinsed with sterile water, handled with sterile gloves, and placed into sterile packaging right away.
The main challenge is time. Leaving tools in a tub for most of the workday does not fit well with fast‑turnover items. This method works best for heat‑sensitive tools used less often or for salons that keep duplicate sets so one is available while the other soaks.
Step-by-Step Sterilization Process: Best Practices for Consistent Success
A good autoclave matters, but the people and process around it decide whether sterilization really happens, similar to how the use of female sterilization protocols must be consistently applied to achieve intended outcomes. A clear, step‑by‑step workflow removes guesswork, makes training easier, and keeps every staff member on the same page. The steps below focus on heat‑stable tools processed in a steam sterilizer.
Step 1: Clean and Dry Tools
Before tools ever see the autoclave, they must go through full pre‑cleaning: manual scrubbing, ultrasonic cleaning if available, careful rinsing, and complete drying. Instruments should arrive at the packaging area free of visible debris and without droplets or damp spots.
Step 2: Package Tools Properly
Clean, dry tools go into packaging that lets steam enter and leave while keeping contents sterile afterward. Use FDA‑cleared sterilization pouches or wraps. Choose a size that lets instruments lie flat or slightly open without being crammed together.
Place a chemical indicator strip inside each pouch if there is no built‑in internal indicator. Seal the pouch as directed, then label it with date, contents, and staff initials so each batch can be traced. Skip household items like foil, food‑storage bags, or paper towels; they can block steam, melt, or fail as a sterile barrier.
Step 3: Load the Autoclave Correctly
The way packages go into the autoclave affects how well steam reaches every surface. Overloading the chamber is one of the most common errors. Arrange pouches in a single layer on racks, standing on edge or laid flat with the paper side up, according to the manual.
Make sure packages do not press tightly against each other or the chamber walls. Steam needs space to circulate evenly. Follow the stated load limits instead of “stuffing in one more tray” to save a minute.
Step 4: Run the Appropriate Sterilization Cycle
Modern autoclaves come with several pre‑set cycles. Choose the one that matches the load, such as wrapped or unwrapped instruments. These cycles control temperature, pressure, and exposure time, commonly 250–273°F (121–134°C) for 15–30 minutes.
Once the cycle starts, leave the door closed until it ends and the pressure gauge returns to normal. Opening early to “peek” interrupts the process and means the entire load must be reprocessed.
Step 5: Allow Complete Drying Before Unloading
After the sterilization phase, the autoclave usually moves into a drying stage. When the machine signals it is safe to open, crack the door slightly and let pouches sit for another 10–30 minutes so moisture can escape gradually.
Packages must feel completely dry before anyone handles or stacks them. Damp paper acts like a wick, drawing microorganisms from the air or from hands straight onto instruments. Any pouch that comes out wet should be treated as non‑sterile, repackaged, and run again.
Step 6: Store Sterile Packages Properly
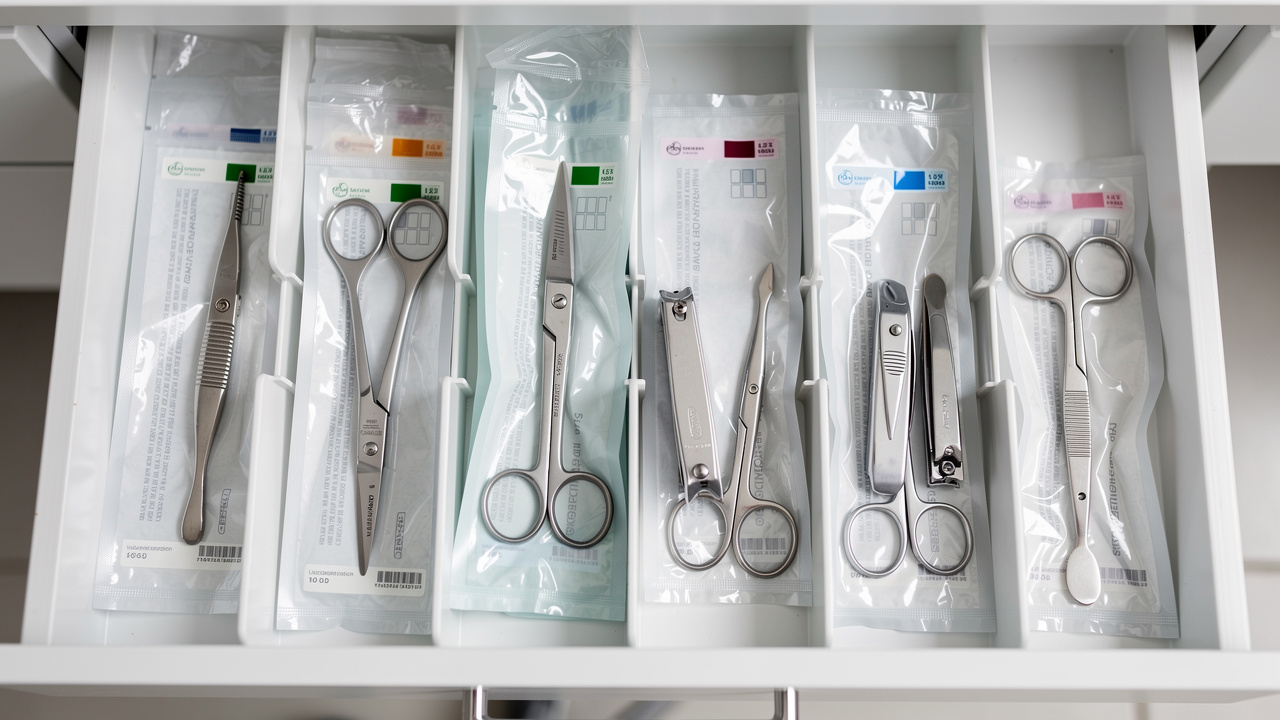
Sterile packs belong in a clean, closed cabinet or drawer away from splashes, dust, and heavy traffic. Before opening a package, check for tears, punctures, broken seals, or moisture stains. If anything looks off, do not “make it work”—reprocess the contents.
When stored correctly, many sterilization pouches stay sterile for months. Follow the pouch manufacturer’s written guidance and your state board rules when setting shelf‑life policies.
Monitoring and Verifying Sterilization: Making Sure Your Process Works
Pressing “start” on an autoclave does not prove the load is sterile. Just as stylists track color timing instead of guessing, sterilization needs its own checks. Monitoring shows that each cycle reached the right conditions and that the machine continues to perform properly.
Three types of monitoring work together: mechanical or physical monitors that track the autoclave’s data, chemical indicators that give fast visual feedback, and biological indicators (spore tests) that provide the strongest proof the sterilizer kills resistant organisms.
“If it’s not documented, it’s not done.”
— Common saying in infection‑prevention programs
Mechanical/Physical Monitors
Mechanical or physical monitoring means reading and recording the autoclave’s time, temperature, and pressure for every cycle. Many units show this on a digital display, printout, or connected log. Staff should confirm that each cycle reached the correct settings, then record those values with the date, cycle type, and operator initials.
These records show that the sterilizer ran the way it was programmed. They do not, by themselves, prove that steam reached instruments inside the pouches, but they give a clear picture of performance over time and help catch problems early.
Chemical Indicators
Chemical indicators change color or pattern when exposed to certain sterilization conditions. They come as external markings, internal strips, or both. External indicators appear on tape or on the outside of pouches, changing color when exposed to heat and, in some products, steam during a cycle.
Internal indicators sit inside each package. They respond only when time, temperature, and steam conditions inside that pouch reach the target levels. After a cycle, staff can check an internal strip before using the tools, gaining quick confirmation that sterilizing conditions reached the instruments.
A simple comparison looks like this:
| Type | Placement | What It Shows | Limitation |
|---|---|---|---|
| External Indicator | On outside of package | Package went through a sterilization cycle | Does not confirm conditions inside pouch |
| Internal Indicator | Inside each package | Correct conditions reached the instruments | Does not prove spore kill on its own |
Best practice uses both types together. External markings help distinguish processed from unprocessed packs at a glance, while internal indicators provide more meaningful feedback on each load.
Biological Indicators (Spore Tests)
Biological indicators (BIs) are the most demanding test of a sterilizer’s power. Each indicator contains a large number of highly resistant bacterial spores, often Geobacillus stearothermophilus for steam systems. If the autoclave can kill those spores, it can handle easier‑to‑kill pathogens as well.
To run a test, place a BI in a normal load and run the cycle as usual. Afterward, send the indicator to a lab or place it in an in‑office incubator, depending on the system. Over 24–48 hours, the test shows either no growth (pass) or spore growth (fail). Salons should run spore tests at least weekly, after any repairs, and whenever changing packaging or loading methods.
These results provide documented proof that sterilization is not just assumed but verified. Many inspectors and boards expect to see regular spore‑test records during visits, along with mechanical logs and chemical‑indicator documentation.
Common Sterilization Mistakes and How to Avoid Them
Even experienced professionals slip into shortcuts when the book is full and the waiting area is buzzing, though research shows the risk of sterilization regret increases when proper protocols are bypassed. Small shortcuts in sterilization can cause big problems later. Knowing the most common errors makes it easier to build habits that avoid them.
Most mistakes fall into a few themes: confusing disinfection with sterilization, rushing early steps, overstuffing the autoclave, or skipping monitoring. The good news is that each has a clear fix once everyone understands what is at stake.
Mistake 1: Confusing Disinfection with Sterilization
Many salons soak tools in a disinfectant and assume they are sterile afterward. Disinfectants such as Barbicide work well for non‑critical items, but they do not provide sterilization. Spores and some hardy microbes can survive a standard soak.
To avoid this, reserve chemical disinfectants for combs, brushes, and other non‑critical tools. Critical and heat‑tolerant semi‑critical items belong in an autoclave or in a liquid chemical sterilant used for the full time listed on the label.
Mistake 2: Inadequate or Rushed Pre-Cleaning
When the schedule is tight, it is tempting to give tools a quick rinse and call it a day. That shortcut leaves bioburden in hinges and grooves. During sterilization, that debris shields microbes from steam or chemicals, and the cycle fails where it matters most.
The fix is a firm, written cleaning protocol and training that treats it as mandatory, not optional. Ultrasonic cleaners can help busy shops by doing most of the scrubbing work automatically once tools are loaded.
Mistake 3: Overloading the Autoclave
Stuffing in “just one more tray” to save time can block steam from reaching every package. Pouches pressed tightly together or jammed against chamber walls create cold spots where microbes survive.
Follow the manufacturer’s load diagrams and resist the urge to overload. It is better to run two lighter loads that work than one heavy load that leaves instruments in a gray area.
Mistake 4: Using Incorrect Packaging Materials
Household items like plastic wrap, foil, or paper towels might seem handy for wrapping tools, but they are not designed for sterilization. They can melt, block steam, or fail to keep items sterile after the cycle.
Use only sterilization pouches or wraps cleared for your type of autoclave. These materials let steam in and out while maintaining a barrier against microbes once the load is done.
Mistake 5: Handling or Storing Wet Packages
Pulling hot, damp packages straight out of the autoclave and stacking them on a counter may save a minute, but it ruins sterility. Moisture in the paper acts like a shortcut for microorganisms to travel from the air or from hands into the instrument area.
Let packages dry completely inside the chamber with the door slightly open. Any pouch that feels cool and damp should go back through the process instead of into a drawer marked “sterile.”
Mistake 6: Neglecting Regular Monitoring and Maintenance
An autoclave that never gets spore‑tested or serviced is a mystery box. It might be working perfectly, or it might have drifted out of spec months ago. Without logs, there is no way to prove performance to an inspector, insurer, or attorney.
Set a weekly schedule for biological indicators, keep a simple log for every cycle, and follow the maintenance plan in the manual. Treat monitoring as part of the service—just like mixing color correctly—rather than an optional chore.
How SalonAct Supports Your Commitment to Cleanliness and Sterilization
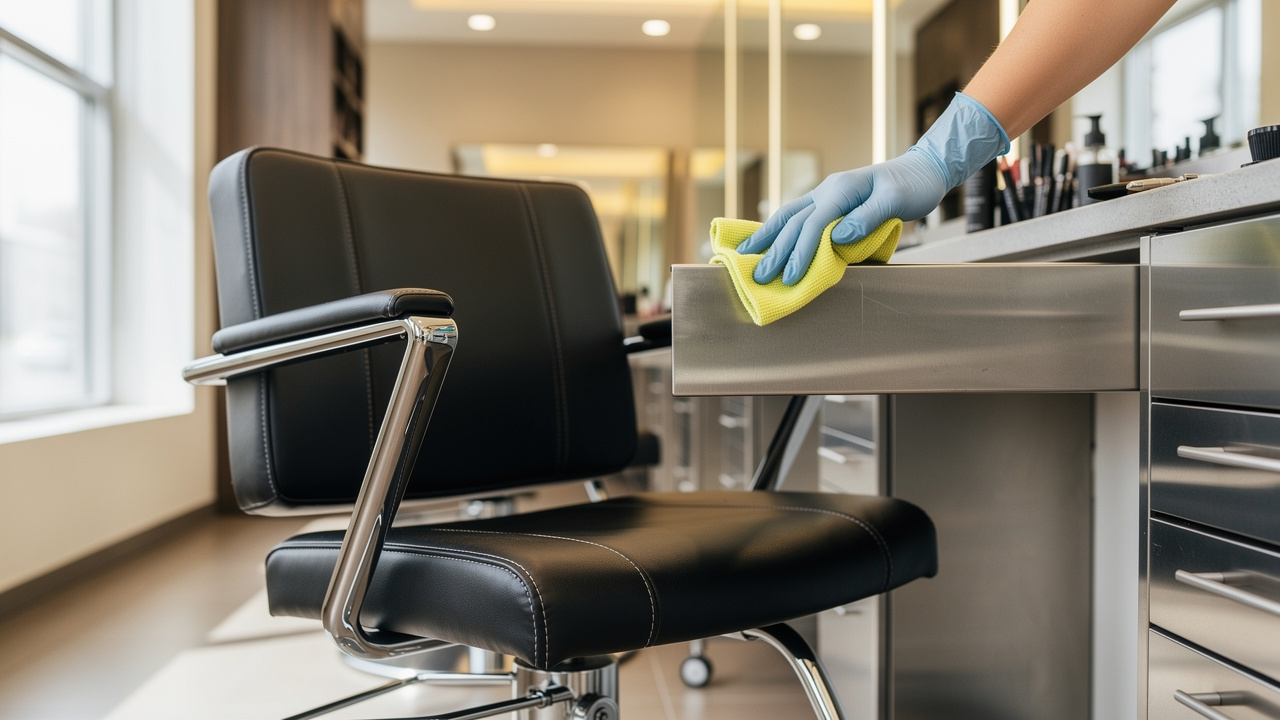
Tool sterilization sits at the heart of client safety, but the surfaces that surround those tools matter just as much for confidence. Clients see chairs, bowls, and stations long before they notice a sealed pouch. If the furniture looks tired, stained, or taped together, they start to worry about what they cannot see.
SalonAct focuses on making that visible side of cleanliness easier to maintain. The brand builds furniture and selects hygiene products with salon life in mind, from bleach splashes to heavy foot traffic. That approach pairs well with high‑level sterilization practices, so the entire space tells the same story of care.
Durable, Easy-to-Clean Furniture
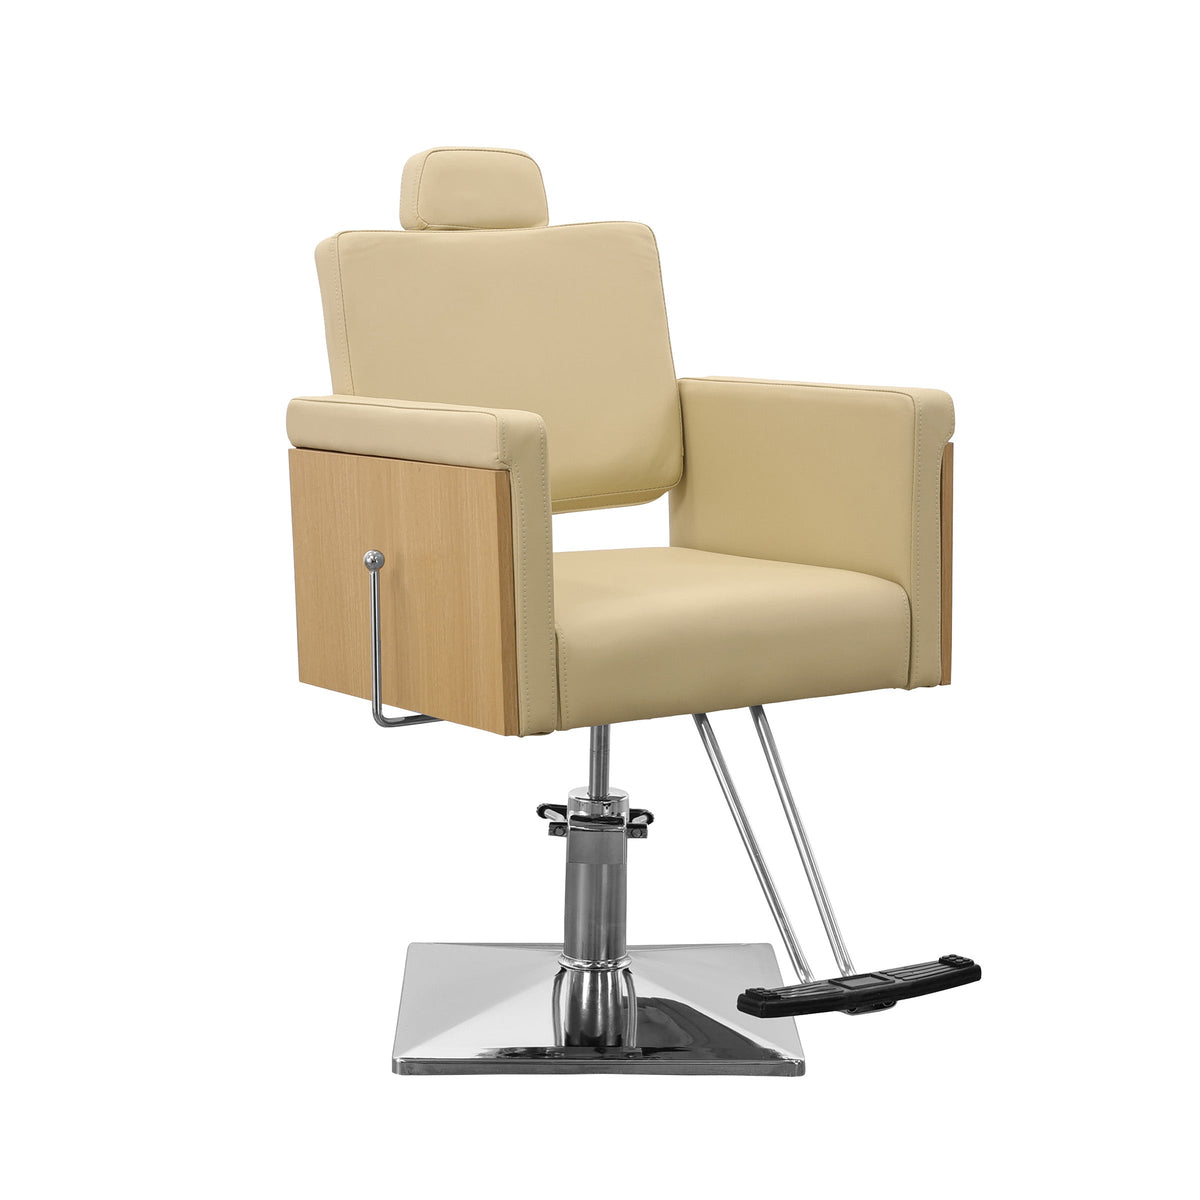
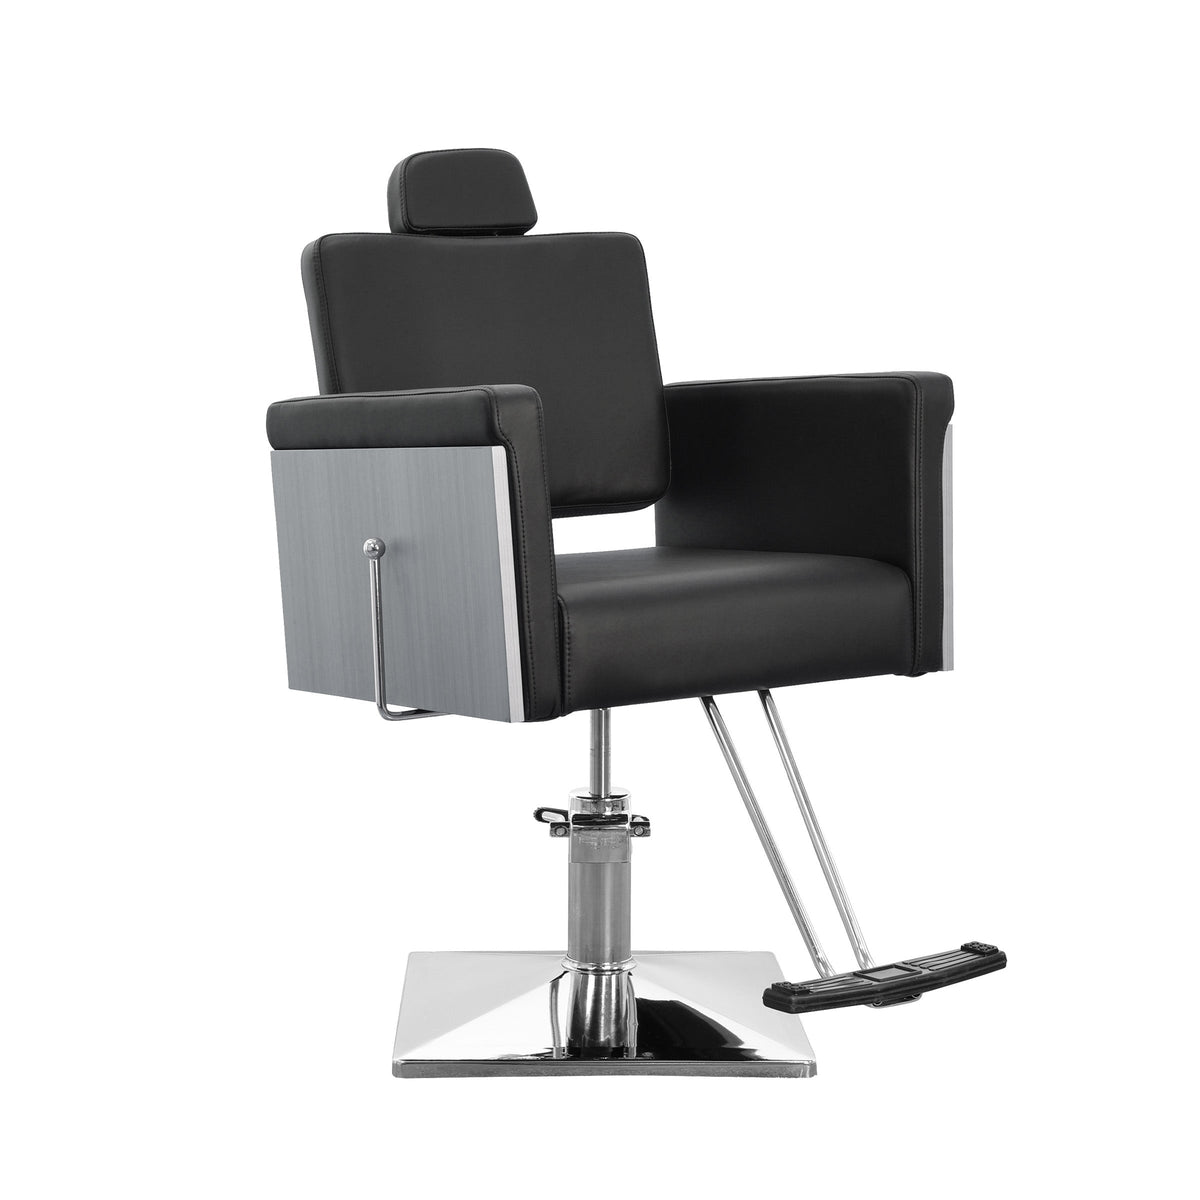
SalonAct chairs, styling stations, shampoo units, and tubs use commercial‑grade vinyl and faux leather designed for busy professional use. These materials are non‑porous, so hair dye, developer, and styling products sit on the surface instead of soaking in and leaving permanent marks.
Because the upholstery resists common salon chemicals, staff can wipe it down between clients without watching the color fade or the texture crack. Regular disinfection becomes a quick step instead of a stressful one. Over time, this toughness keeps furniture looking fresh, so staff can focus on the service instead of apologizing for split seams or stained headrests.
Comprehensive Sanitation Supplies
Beyond furniture, SalonAct offers hygiene products that fit directly into a modern sterilization and disinfection routine. Sterilization jars provide a safe place to soak appropriate tools, and professional‑grade cleaners handle both implements and furniture without damaging finishes.
SalonAct also supplies UV cabinets often labeled as “UV sterilizers,” along with hot‑towel cabinets and precision combs. Used correctly, UV cabinets serve as storage for already cleaned and disinfected items such as combs and brushes, helping keep them cleaner between uses. Combined with proper steam sterilization for critical tools, these products support a full hygiene system for the entire salon.
Maintenance Guidance and Support
Every piece of SalonAct furniture comes with clear maintenance guidance that spells out daily, weekly, monthly, and yearly care. These care sheets list safe cleaners, recommended disinfection steps, and simple inspection routines that catch minor wear before it turns into a hygiene issue such as exposed foam or chipped finishes.
If parts wear out, SalonAct’s U.S.‑based fulfillment offers replacement upholstery kits, pumps, and levers so repairs happen quickly instead of dragging on for months. Commercial‑grade warranties back these products, giving owners confidence that the furniture supporting their sterilization and cleaning program will hold up over time.
Conclusion
Cleanliness is more than tidy stations and folded towels. For a professional salon or barbershop, sterilization is an essential safety practice, a legal expectation, and a key part of client trust. When tools reach a true sterile state, infection risk between clients drops to levels similar to medical clinics.
Several points stand out:
- Sterilization is the only method that destroys all microorganisms, including spores, and it is mandatory for critical tools.
- Thorough pre‑cleaning comes first, because bioburden blocks sterilants.
- Steam sterilization with an autoclave is the gold standard for heat‑stable instruments thanks to its speed, reliability, and lack of toxic residue.
- Classifying tools as critical, semi‑critical, or non‑critical matches the right decontamination level to each item.
Consistent monitoring using mechanical readings, chemical indicators, and weekly biological (spore) tests confirms that sterilization is working instead of guessed. Avoiding common mistakes—such as confusing disinfection with sterilization, cramming the autoclave, or handling wet packages—protects both clients and your business.
A pristine space finishes the picture. Clients link spotless, well‑maintained furniture with safe, hygienic practices, even if they never see the inside of your autoclave. SalonAct supports that impression with durable, easy‑to‑clean furniture, sanitation supplies, and clear maintenance guidance. Put these sterilization best practices into daily use, partner with brands that share your standards, and your salon can be the place clients trust with both their style and their health.
FAQs
Question 1: What Is the Difference Between Sterilization and Disinfection?
Sterilization is a process that destroys every form of microbial life on a tool or surface, including tough bacterial spores. When an item is sterile, no living microorganisms remain, which matches the high safety levels expected in medical settings.
Disinfection, in contrast, kills most bacteria, viruses, and fungi but does not remove all spores and does not reach the same level of certainty. In practical terms, critical tools that pierce or contact broken skin require sterilization, while non‑critical items that only touch intact skin can be managed with thorough cleaning followed by disinfection.
Question 2: How Often Should I Run a Biological Indicator (Spore Test) on My Autoclave?
Most professional guidelines recommend running a biological indicator (spore test) at least once a week for each autoclave in service. This schedule confirms that the machine still kills highly resistant spores and has not drifted out of range. Run a spore test any time the sterilizer is repaired, moved, or when you introduce new packaging or loading methods.
Many services now offer mail‑in or on‑site spore‑testing kits with clear pass/fail reports you can keep on file. Storing these reports with your sterilization logbook creates a strong record that you take sterilization seriously, which helps during inspections and reassures clients who ask how you protect their health.